Tutorial: Building a Blog with Rocket.rs – Adding CRUD, Comments, and Database Authentication
Table of Content
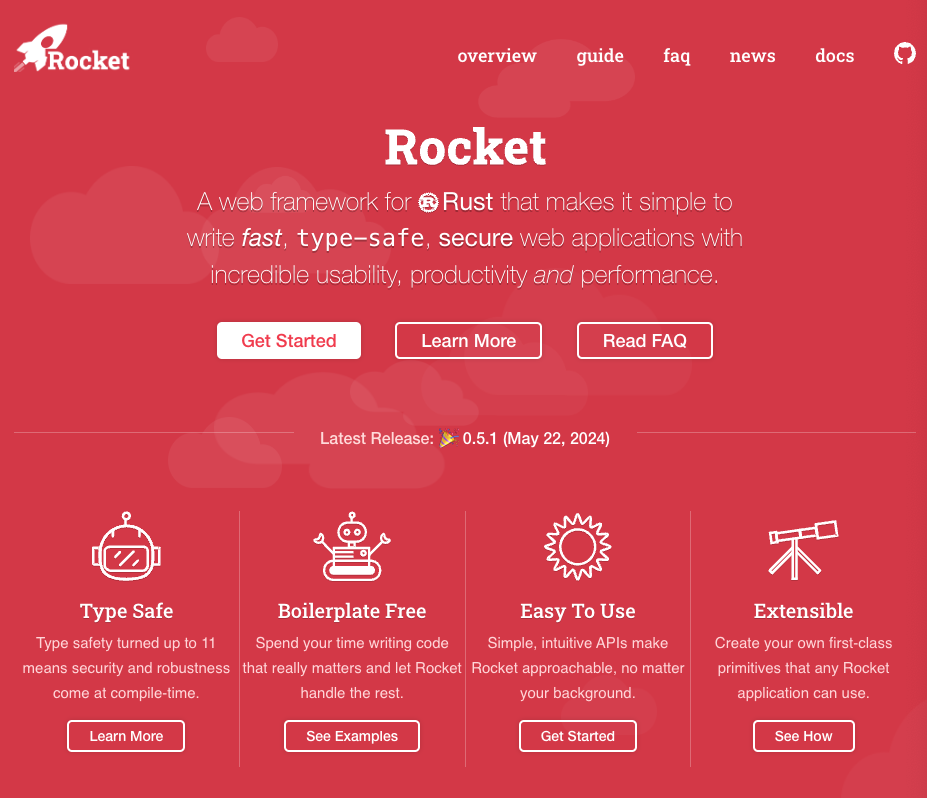
Rocket.rs is a web framework for the Rust programming language. It's designed to simplify the creation of fast, secure web applications without compromising flexibility, usability, or type safety.
Here are some key features of Rocket:
- Easy to use: Rocket's simple and intuitive design allows developers to build web applications quickly.
- Type-safe: It harnesses Rust's robust type system to catch errors at compile-time instead of runtime.
- Feature-rich: Rocket comes with built-in capabilities for form parsing, file uploads, and JSON handling.
- Secure by default: It implements security best practices out-of-the-box to guard against common vulnerabilities.
- Extensible: Rocket seamlessly integrates additional libraries and custom functionality.
Rust developers favor Rocket for creating web services, APIs, and full-stack web applications. Its emphasis on developer-friendly ergonomics and high performance makes it an attractive choice for both novice and seasoned Rust programmers.
In this tutorial, we'll walk you through building a simple blog application using Rocket.rs, a powerful web framework for Rust. You'll learn how to implement CRUD (Create, Read, Update, Delete) operations for blog posts, enable user commenting, and integrate database connectivity with login authentication.
Prerequisites:
- Rust installed on your machine
- Basic knowledge of Rust and web development
- PostgreSQL or SQLite installed for database usage
Step 1: Set Up the Project
First, create a new Rocket.rs project:
cargo new rocket_blog --bin
cd rocket_blog
In your Cargo.toml file, add the necessary dependencies:
[dependencies]
rocket = "0.5.0-rc.1"
rocket_contrib = { version = "0.5.0-rc.1", features = ["databases", "diesel_postgres_pool"] }
diesel = { version = "2.0", features = ["postgres", "r2d2"] }
serde = { version = "1.0", features = ["derive"] }
serde_json = "1.0"
bcrypt = "0.12"
You’ll need Diesel for database migrations and interaction with PostgreSQL, and bcrypt for password hashing.
Step 2: Configure Rocket and Database
Create a file named Rocket.toml in your project root directory for Rocket configuration:
[global.databases]
blog_db = { url = "postgres://username:password@localhost/blog" }

[development]
address = "localhost"
port = 8000
Replace username, password, and blog with your actual PostgreSQL credentials. You can also use SQLite if you prefer.
Step 3: Create the Database Schema with Diesel
Run the following command to set up Diesel for PostgreSQL or SQLite:
diesel setup
Now, create the necessary tables for posts, comments, and users.
In migrations folder, create a file 2023XXXX_create_blog_tables.sql with the following SQL:
CREATE TABLE users (
    id SERIAL PRIMARY KEY,
    username VARCHAR NOT NULL UNIQUE,
    password_hash VARCHAR NOT NULL
);

CREATE TABLE posts (
    id SERIAL PRIMARY KEY,
    title VARCHAR NOT NULL,
    body TEXT NOT NULL,
    author_id INTEGER REFERENCES users(id)
);

CREATE TABLE comments (
    id SERIAL PRIMARY KEY,
    body TEXT NOT NULL,
    post_id INTEGER REFERENCES posts(id),
    author_id INTEGER REFERENCES users(id)
);
Run migrations with Diesel:
diesel migration run
Step 4: Implement Models and Schema
In your src folder, create a models.rs file for the Post, Comment, and User models.
use diesel::prelude::*;
use serde::{Deserialize, Serialize};

#[derive(Queryable, Serialize, Deserialize)]
pub struct User {
    pub id: i32,
    pub username: String,
    pub password_hash: String,
}

#[derive(Queryable, Serialize, Deserialize)]
pub struct Post {
    pub id: i32,
    pub title: String,
    pub body: String,
    pub author_id: i32,
}

#[derive(Queryable, Serialize, Deserialize)]
pub struct Comment {
    pub id: i32,
    pub body: String,
    pub post_id: i32,
    pub author_id: i32,
}
Create a schema.rs file for Diesel schema:
table! {
    users (id) {
        id -> Int4,
        username -> Varchar,
        password_hash -> Varchar,
    }
}

table! {
    posts (id) {
        id -> Int4,
        title -> Varchar,
        body -> Text,
        author_id -> Int4,
    }
}

table! {
    comments (id) {
        id -> Int4,
        body -> Text,
        post_id -> Int4,
        author_id -> Int4,
    }
}
Step 5: Set Up Routes and CRUD Logic
In main.rs, create routes for CRUD operations for blog posts and comments.
#[macro_use] extern crate rocket;

use rocket::form::Form;
use rocket::serde::json::Json;
use rocket::request::{Form, FlashMessage};
use rocket::response::{Redirect, Flash};
use diesel::prelude::*;
use bcrypt::{hash, verify};
use crate::models::{User, Post, Comment};

#[post("/login", data = "<user_form>")]
async fn login(user_form: Form<UserLogin>, conn: DbConn) -> Result<Flash<Redirect>, Flash<Redirect>> {
    let user = users.filter(username.eq(&user_form.username)).first::<User>(&*conn);
    if let Ok(user) = user {
        if verify(user_form.password, &user.password_hash).unwrap() {
            return Ok(Flash::success(Redirect::to("/dashboard"), "Logged in successfully."));
        }
    }
    Err(Flash::error(Redirect::to("/login"), "Invalid credentials."))
}

#[post("/new_post", data = "<new_post>")]
async fn create_post(new_post: Form<PostForm>, conn: DbConn, user: User) -> Flash<Redirect> {
    let post = Post {
        title: new_post.title.clone(),
        body: new_post.body.clone(),
        author_id: user.id,
    };
    diesel::insert_into(posts).values(&post).execute(&*conn);
    Flash::success(Redirect::to("/"), "Post created successfully!")
}

#[post("/<post_id>/new_comment", data = "<comment_form>")]
async fn create_comment(post_id: i32, comment_form: Form<CommentForm>, conn: DbConn, user: User) -> Flash<Redirect> {
    let comment = Comment {
        body: comment_form.body.clone(),
        post_id,
        author_id: user.id,
    };
    diesel::insert_into(comments).values(&comment).execute(&*conn);
    Flash::success(Redirect::to(format!("/posts/{}", post_id)), "Comment added!")
}

#[delete("/posts/<id>")]
async fn delete_post(id: i32, conn: DbConn, user: User) -> Flash<Redirect> {
    diesel::delete(posts.filter(id.eq(id)).filter(author_id.eq(user.id))).execute(&*conn);
    Flash::success(Redirect::to("/"), "Post deleted successfully!")
}
Here we defined routes for logging in, creating posts and comments, and deleting posts. You can expand this logic with update functionality.
Step 6: Authentication Middleware
To ensure that only logged-in users can create posts and comments, create a simple authentication middleware.
#[derive(Debug)]
struct AuthenticatedUser(User);

#[rocket::async_trait]
impl<'r> FromRequest<'r> for AuthenticatedUser {
    type Error = ();

    async fn from_request(request: &'r Request<'_>) -> Outcome<Self, Self::Error> {
        let user = request.cookies().get_private("user_id").and_then(|cookie| {
            cookie.value().parse::<i32>().ok().and_then(|id| {
                users.filter(id.eq(id)).first::<User>(&*conn).ok()
            })
        });
        match user {
            Some(user) => Outcome::Success(AuthenticatedUser(user)),
            None => Outcome::Forward(()),
        }
    }
}
Step 7: Testing and Running
Run the application:
cargo run
You can now visit http://localhost:8000 and interact with your blog. Use the forms for login, creating posts, adding comments, and performing CRUD operations.
Conclusion
In this tutorial, we created a basic blog with Rocket.rs, complete with CRUD operations for blog posts, the ability to add comments, and authentication for user login. We connected the app to a database using Diesel for data persistence.
You can expand this project further by adding user roles, better styling, or even integrating OAuth for authentication.
Enjoy building with Rocket.rs!


