Building a Powerful CRUD Application with Next.js and Vercel Postgres

Next.js is a popular open-source framework for building server-side rendered and static web applications using React. It provides an efficient and developer-friendly environment for creating fast and scalable web projects.
With Next.js, you can easily handle routing, server-side rendering, and API routes, among other features.
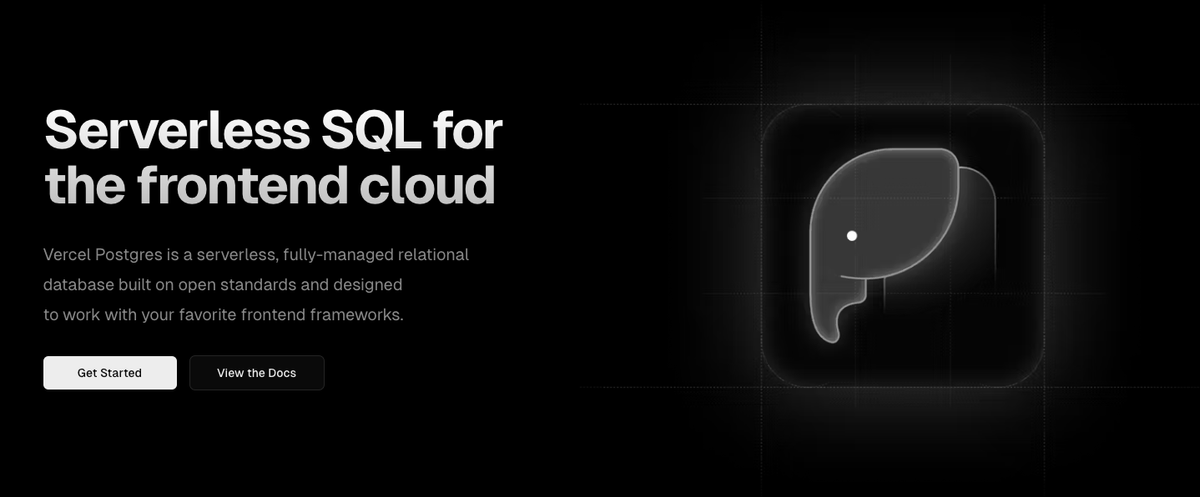
Vercel Postgres
Vercel Postgres is a managed PostgreSQL database service provided by Vercel, the creators of Next.js. It offers a fully managed and scalable database solution that integrates seamlessly with Next.js projects. Some benefits of using Vercel Postgres include:
- Ease of use: Vercel Postgres simplifies the setup and management of PostgreSQL databases, allowing developers to focus on building their applications.
- Automatic scaling: Vercel Postgres automatically handles scaling based on the needs of your application, ensuring optimal performance and availability.
- High security: Vercel Postgres provides robust security features, including encryption at rest and in transit, ensuring the safety of your data.
- Data backups and recovery: Vercel Postgres regularly backs up your data and allows you to easily restore it in case of any unexpected issues.
- Integration with Vercel: Vercel Postgres seamlessly integrates with Vercel's deployment platform, making it effortless to deploy and manage your Next.js applications with a PostgreSQL database.
About this Tutorial
Creating a CRUD application with Next.js and Vercel Postgres involves several steps. This tutorial will guide you through setting up a Next.js project, connecting it to a Vercel Postgres database, and implementing Create, Read, Update, and Delete (CRUD) operations.
Before starting, ensure you have Node.js installed on your machine.
1. Setting Up the Next.js Project
- Create a Next.js app: Run
npx create-next-app your-app-namein your terminal to create a new Next.js project. - Navigate to your project folder: Enter
cd your-app-nameto move into your project directory. - Install necessary packages: Run
npm installto install dependencies.
2. Setting Up Vercel Postgres
- Sign up for Vercel: If you don't have an account, sign up at Vercel's website.
- Create a new Postgres database: In your Vercel dashboard, create a new Postgres database. Note the connection details provided, including the host, database name, user, and password.
- Install pg (PostgreSQL client for Node.js): Run
npm install pgin your Next.js project to interact with your Postgres database.
3. Configuring Environment Variables
- Set up environment variables: In your Next.js project, create a
.env.localfile and add your database connection details like this:
DATABASE_URL="postgres://YourUser:YourPassword@YourHost:YourPort/YourDatabase"
4. Implementing CRUD Operations
A. Create a Database Connection
- Create a new file for database connection: In your project, create a file named
db.js. - Set up the connection:
const { Pool } = require('pg');
const pool = new Pool({
  connectionString: process.env.DATABASE_URL,
});

module.exports = pool;
B. Create (POST)
- Create a new API route: In the
pages/apidirectory, create a file for your create operation, e.g.,create.js. - Implement the POST method:
import pool from '../../db';

export default async function handler(req, res) {
  if (req.method === 'POST') {
    const { yourDataFields } = req.body;
    try {
      const result = await pool.query('INSERT INTO yourTableName (column1, column2) VALUES ($1, $2) RETURNING *', [yourDataFields.column1, yourDataFields.column2]);
      res.status(200).json(result.rows[0]);
    } catch (error) {
      res.status(500).json({ error: error.message });
    }
  }
}
C. Read (GET)
- Create a new API route for reading data, e.g.,
read.js. - Implement the GET method:
import pool from '../../db';

export default async function handler(req, res) {
  try {
    const result = await pool.query('SELECT * FROM yourTableName');
    res.status(200).json(result.rows);
  } catch (error) {
    res.status(500).json({ error: error.message });
  }
}
D. Update (PUT)
- Create a new API route for updating data, e.g.,
update.js. - Implement the PUT method:
import pool from '../../db';

export default async function handler(req, res) {
  if (req.method === 'PUT') {
    const { id, updatedData } = req.body;
    try {
      const result = await pool.query('UPDATE yourTableName SET column1 = $1, column2 = $2 WHERE id = $3 RETURNING *', [updatedData.column1, updatedData.column2, id]);
      res.status(200).json(result.rows[0]);
    } catch (error) {
      res.status(500).json({ error: error.message });
    }
  }
}
E. Delete (DELETE)
- Create a new API route for deleting data, e.g.,
delete.js. - Implement the DELETE method:
import pool from '../../db';

export default async function handler(req, res) {
  if (req.method === 'DELETE') {
    const { id } = req.body;
    try {
      await pool.query('DELETE FROM yourTableName WHERE id = $1', [id]);
      res.status(200).json({ message: 'Deleted successfully' });
    } catch (error) {
      res.status(500).json({ error: error.message });
    }
  }
}
Conclusion
Next.js is an open-source framework for building server-side rendered and static web applications using React. Vercel Postgres is a managed PostgreSQL database service provided by Vercel, offering ease of use, automatic scaling, high security, data backups, and integration with Vercel's deployment platform.
This tutorial guides you through setting up a Next.js project, connecting it to Vercel Postgres, and implementing CRUD operations. Steps include creating a Next.js app, setting up Vercel Postgres, configuring environment variables, and implementing create, read, update, and delete operations using API routes and a PostgreSQL client for Node.js.