Bring Medical Imaging to Life: How to Set Up Your Own DICOMweb-PACS Server in Minutes!
Table of Content
Setting up a DICOMweb-enabled PACS server can significantly enhance your medical imaging workflow.
In this guide, we'll explore the essentials of DICOM, PACS, and DICOMweb, and provide a step-by-step tutorial on installing the dicomweb-pacs server on your system.
Understanding the Basics
1- DICOM (Digital Imaging and Communications in Medicine):
A global standard for handling, storing, and transmitting medical imaging information, ensuring interoperability between different imaging devices and systems.
2- PACS (Picture Archiving and Communication System):
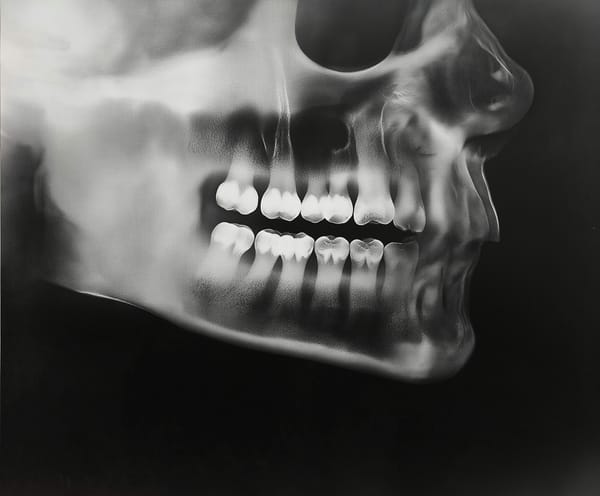
A medical imaging technology used for storing, retrieving, presenting, and sharing images produced by various medical hardware modalities, such as X-ray, MRI, and CT scans.
3- DICOMweb:
A set of RESTful web services based on the DICOM standard, facilitating web-based access to medical images and related information.
Introducing dicomweb-pacs
The dicomweb-pacs project is a Node.js-based tool designed to easily deploy a PACS server with DICOMweb capabilities.
It comes pre-installed with the OHIF DICOM Web Viewer (version 3.8.0), supporting volumetric data visualization through OHIF MPR (vtk.js).
Prerequisites
Before installation, ensure your system meets the following requirements:
- Node.js: Version 12 or newer.
Installation Steps
Initialize an Empty Directory:
Open your terminal and create a new directory for the installation:
mkdir dicomweb-pacs
cd dicomweb-pacs
Set Up the Project
Initialize a new Node.js project and install dicomweb-pacs:
npm init -y
npm install dicomweb-pacs
Configure the Server:
Modify the configuration file to suit your setup:
nano ./node_modules/dicomweb-pacs/config
Adjust parameters such as Application Entity Titles (AET), IP addresses, and ports as needed.
Start the PACS Server:
Launch the server using the following command:
npx dicomweb-pacsImport DICOM Images:To add DICOM images to the server, utilize any C-STORE-SCU tool to push images to the internal STORE-SCP (AET: DICOMWEB_PACS, port: 8888).
Alternatively, place DICOM files into the import directory and run:npm run import , Ensure the server is running during the import process.
Access the Web Viewer:
- Open a web browser and navigate to
http://localhost:5001to start viewing the imported DICOM images.
Optional Configurations
To customize the server's port or AET settings, edit the configuration file:
config.source = {
  aet: "OUR_AET",
  ip: "OUR_IP",
  port: "OUR_PORT"
};
Final Note
By following these steps, you've successfully set up a DICOMweb-enabled PACS server using dicomweb-pacs. This setup facilitates efficient storage, retrieval, and viewing of medical images, enhancing your medical imaging workflow.
For more detailed information and updates, refer to the official dicomweb-pacs GitHub repository:
