Security Cam Cloud Service: a Self-hosted Free Cloud CCTV and NVR System for Windows, Linux, macOS and Raspberry Pi
Table of Content
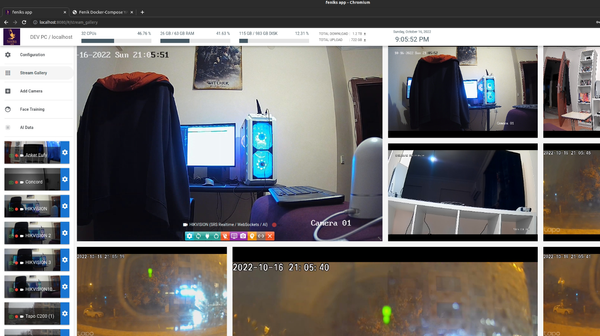
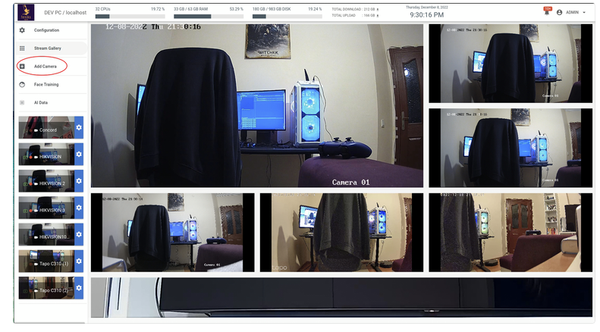
This open-source project allows you to run a complete multi-CCTV system on your Linux, Raspberry Pi, Windows or macOS systems without any fee. Designed in Java, it runs on any Java-enabled system, ensuring broad compatibility.
It supports multiple admins, many cameras, recording as it comes with a built-in NVR and DVR functionalities and normal users modes.
The Cloud Service facilitates online management of the Security Cam NVR project, enabling users to set up, control, and view multiple network CCTV cameras without requiring port forwarding.
Each NVR connects to the Cloud Service through an ActiveMQ server, eliminating the need for local user accounts.
The admin account allows monitoring of connected NVRs and managing user accounts.
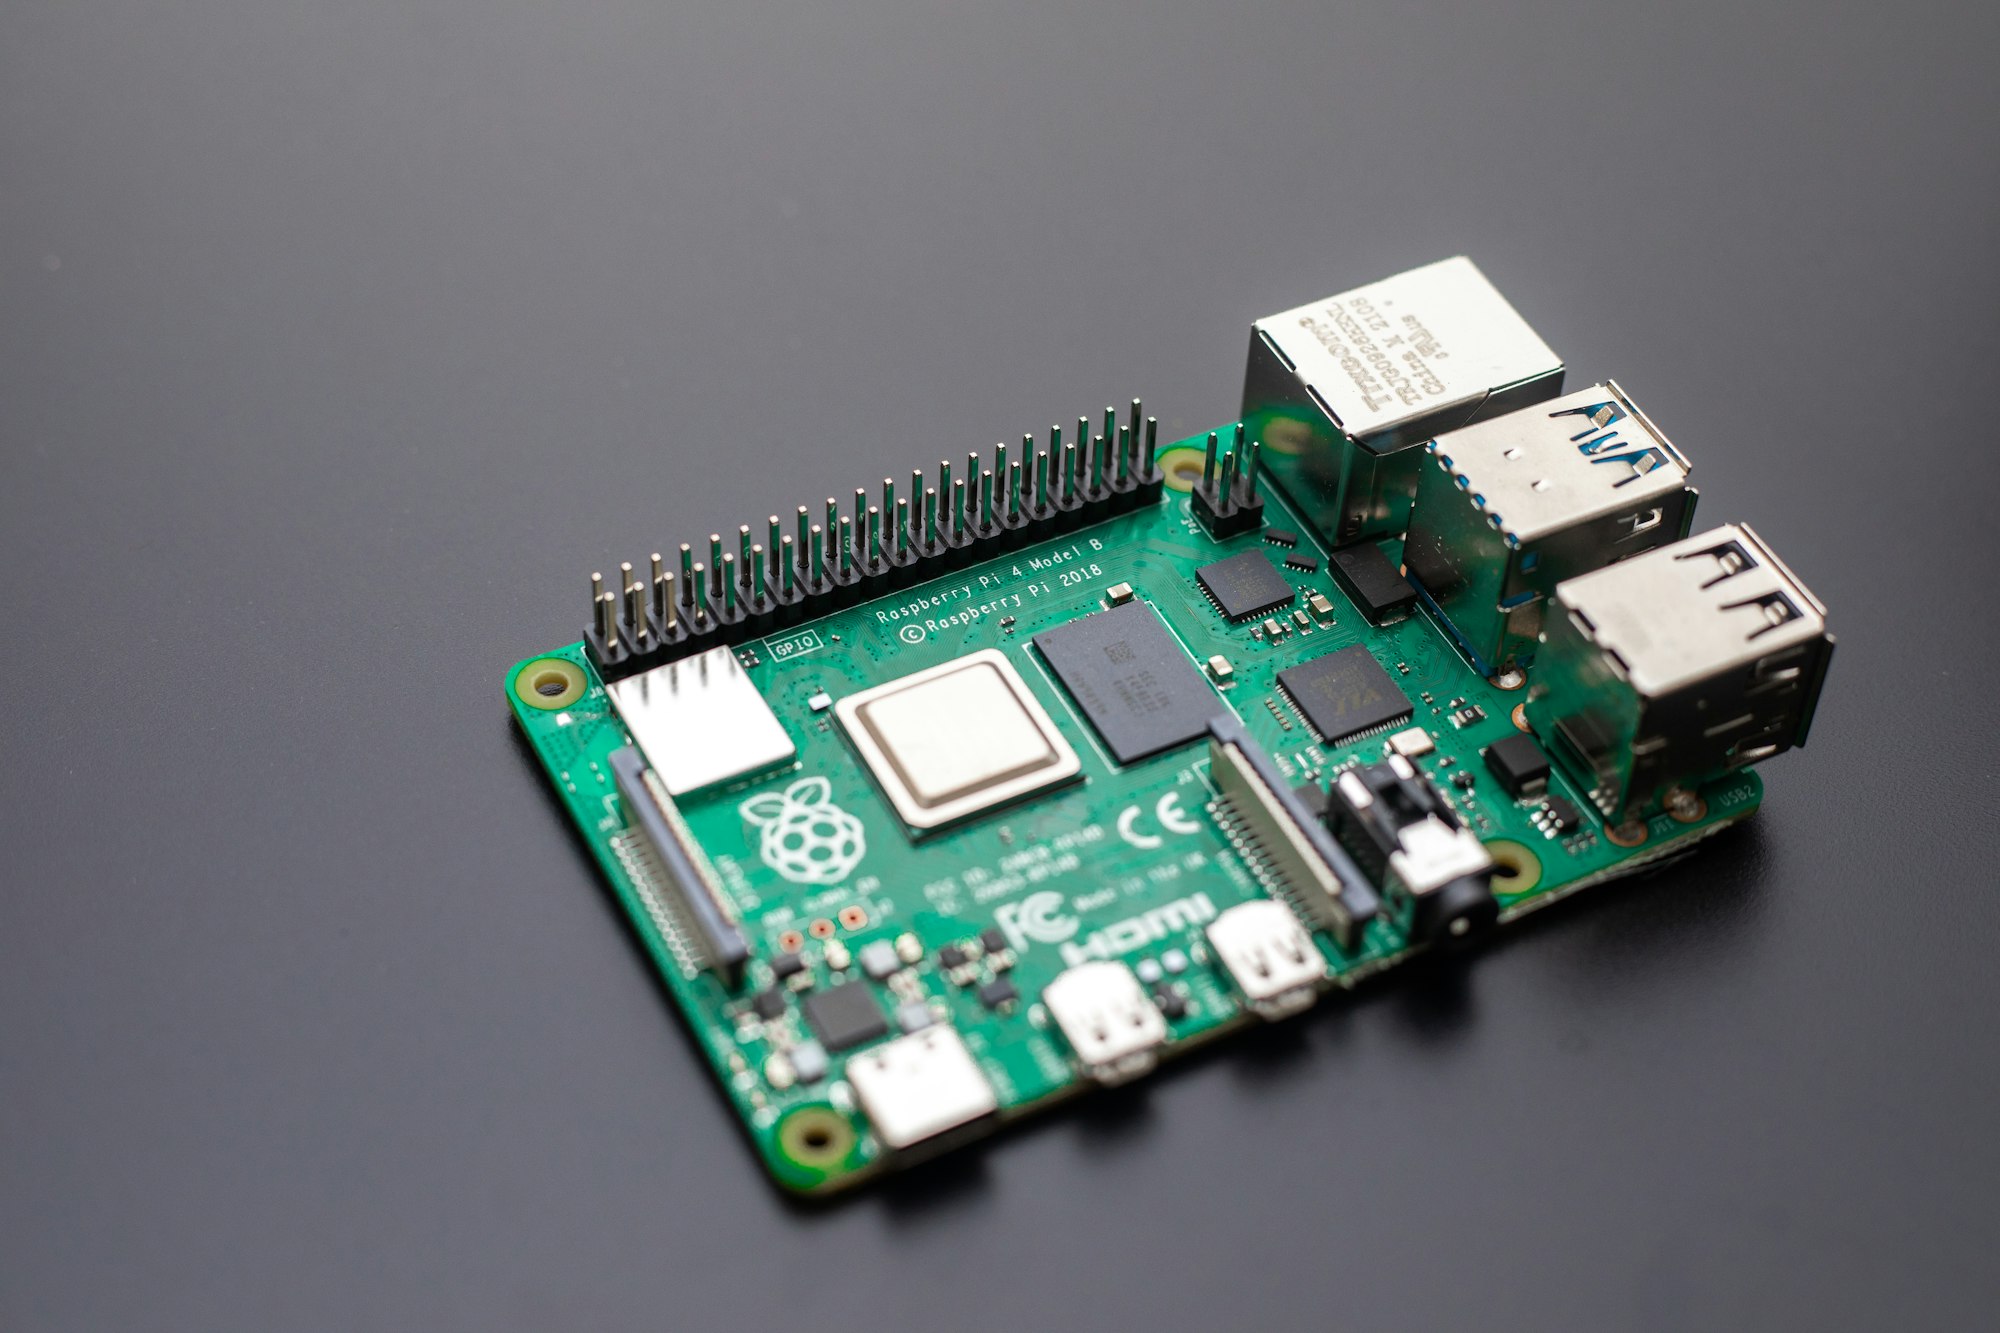
The only downside is that Raspberry Pi should be running Ubuntu 24.04 (Noble Numbat) OS.
You can run it locally or on-premise
The Security Cam (NVR, Network Video Recorder) project is primarily designed to run without the need for a cloud service, inside a secure LAN, with access from WAN being made available with port forwarding.
The Cloud Service can be used to provide access to a number of NVR instances without the port forwarding set up, as the NVR makes a client connection to the ActiveMQ service which is the bridge between one or more NVRs and the Cloud Service.
The Front-end
The Web Front End (client) is an Angular application using Angular CLI version 12.0.5 or later. This forms the user interface of the web application.
The Backend
The Web Back End (server) is a Grails application, which provides a Restful API for the Angular Web Front End in admin mode. In client mode, the Restful API is mainly from the NVR via the account proxy.

Features
- Hosts multiple NVRs with each one having its own user account
- Linked to NVRs via ActiveMQ
- When not logged in
- Login as admin or to one of the client accounts.
- Register a new client (NVR) account.
- Admin Access
- Set up or modify host, username and password for ActiveMQ connection.
- Change admin account password.
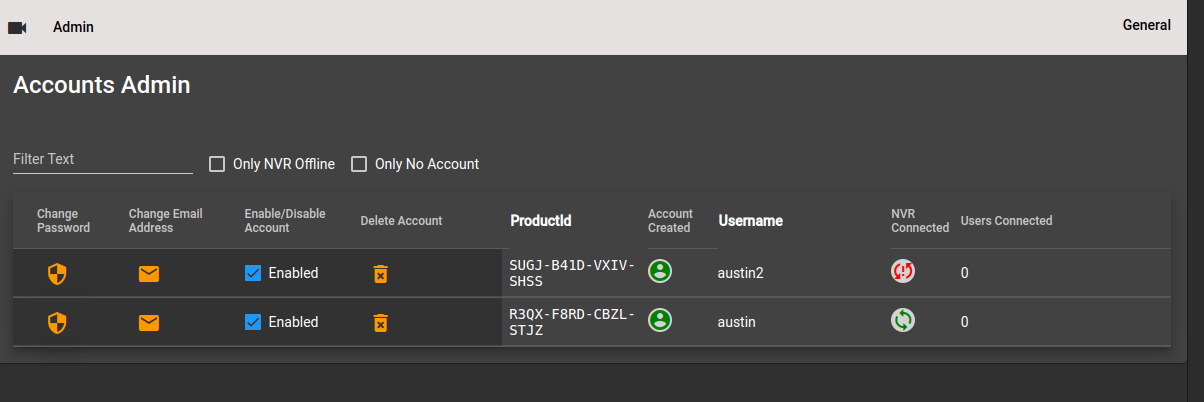
- Show list of connected NVRs
- Indicate which NVRs have Cloud accounts
- Indicate which NVRs with Cloud accounts are connected to the Cloud.
- For each NVR, show number of users viewing the NVR through the Cloud Service.
- Change users Cloud account password.
- Change users Cloud account email address.
- Enable/Disable users Cloud account.
- Delete Users Cloud Account.
- Show only accounts where the NVR is offline (not connected to Cloud)
- Show only connected NVRs with no Cloud user account set up.
- NVR list filter for username/product id
- Client NVR access
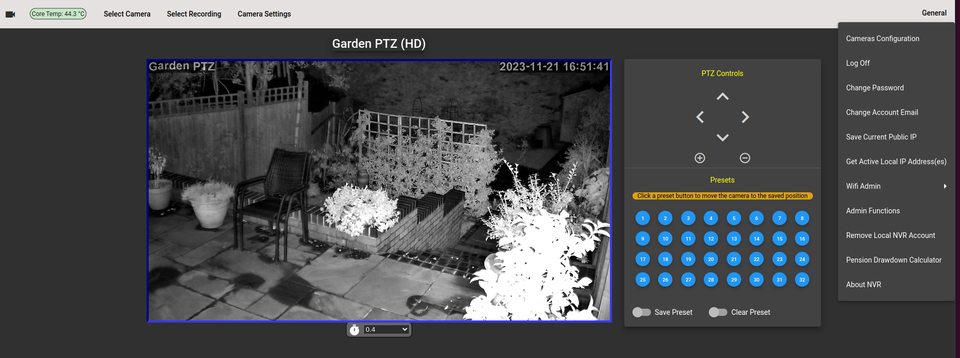
- Most features present through direct access to the NVR are present with client access on the Cloud. Camera web admin pages are not accessible through the Cloud as they are with direct NVR access. The Admin functions are not present, though you can add or remove the local NVR account.
- NVR configuration
- Add/Remove local NVR account.
Install
Requirements
- Angular CLI: 15.2.0 or greater
- Node: 18.17.1
- npm: 9.9.7
- Package Manager: npm 9.6.7
- Grails Version: 5.3.2
- openjdk version "19.0.2" 2023-01-17
- Gradle 7.6
Setup
git clone [email protected]:richard-austin/cloud-server.git
cd cloud-server
Build and Deploy
./gradlew buildDebFile
Initial Setup
Set up admin user account password
The admin account is set up with the default password elementary, this should be changed first of all.
- Set a browser to https://cloud-server_ip_addr
- Ignore the warning which may be given as a result of the home generated site certificate and continue to application which will show the menu bar.
- Click on the Log in option on the menu bar
- Enter admin as the user name and elementary as the password.
- Click confirm.
- Click on General on the right had side of the menu bar.
- Click on Change Password
- Enter elementary as the current password
- Enter you new password and again in the confirm box.
- Click on Change Password
- The new password is now set up.
Admin Mode
To enter administrator mode: -
- Set a browser to https://cloud-server_ip_addr (ip address of the Cloud Service).
- Click on the Log in option on the menu bar.
- Enter admin as the username and the admin password you set above as the password.
- On the menu bar, select Admin -> Accounts Admin. A table listing connected NVRs and NVR Cloud Service accounts will be shown.
Set ActiveMQ user name and password
To connect to ActiveMQ, the correct credentials and ActiveMQ host have to be entered. This should be done when you log onto the Cloud Server as admin for the first time: -
- Open the General menu and select "Set ActiveMQ Credentials"
- Enter the username (usually cloud) given on initial installation of activemq-for-cloud-service
- Enter the password given on initial installation of activemq-for-cloud-service (this will be a 20 character string consisting of upper and lower case letters and numbers).
- Enter the password again in the Confirm Password field
- Enter the ActiveMQ host (this can be an IP address or hostname).
- Click the Update Creds button, the new settings will be applied.
Updating the ActiveMQ username and password
- Open the General menu and select Set ActiveMQ Credentials
- The credentials can be changed by the admin user at any time by repeating the above procedure, the current ActiveMQ host will appear as the default in the ActiveMQ Host field.
- Click the Update Creds button, the new settings will be applied.
Changing the ActiveMQ Host
- Open the General menu and select "Set ActiveMQ Credentials"
- To change the host without changing the username and password, leave the username and password fields blank and update the ActiveMQ host field only.
- Click the Update Creds button, the new settings will be applied.
License
MIT License
Resources & Downloads

