React and Leaflet.js: A Comprehensive Guide for React Developers to Craft Interactive Maps
Table of Content
Maps. They're everywhere. From finding the nearest coffee shop to navigating hiking trails, maps are essential tools in modern web apps.
And if you're a React developer looking to add dynamic, interactive maps to your project, Leaflet.js is your go-to weapon of choice.
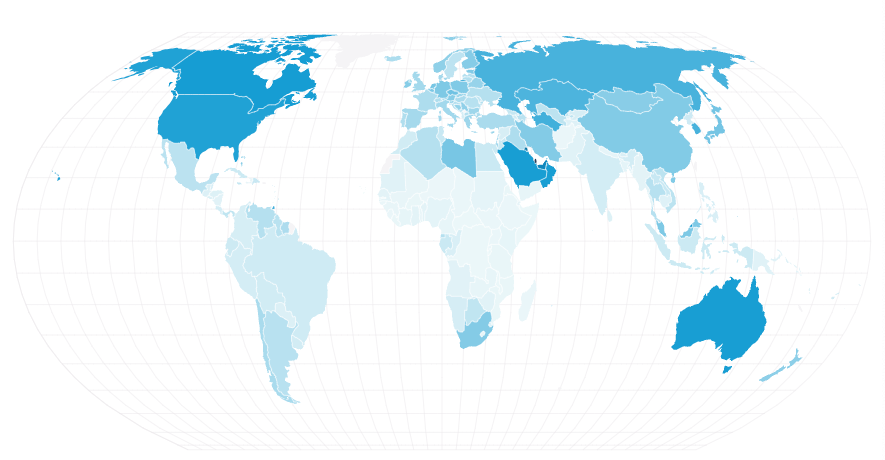
This guide will walk you through integrating Leaflet.js with React, adding markers, pop-ups, and smooth animations to create an engaging, map-driven experience. By the end, you'll have a beautiful, responsive map that could make even Google Maps jealous.
Why Leaflet.js?
Before we dive into code, here's why Leaflet.js is a favorite among developers:
- Lightweight & Fast: Only 42 KB, yet packed with features.
- Open-Source: Fully free, with an active community.
- Extensible: Loads of plugins and easy customizations.
- Cross-Platform: Works seamlessly on desktop and mobile devices.
Now let's get those maps rolling!
Getting Started: Setting Up React and Leaflet
Let's get down to business. First, ensure you have a React project set up. If not, create one quickly using create-react-app:
npx create-react-app react-leaflet-map
cd react-leaflet-map
Next, install Leaflet and React-Leaflet, the official React bindings for Leaflet:
npm install leaflet react-leaflet
Also, Leaflet's CSS needs to be imported for the map to display correctly. Add this to your src/index.css or src/App.css:
/* src/App.css */

.leaflet-container {
  width: 100%;
  height: 100vh;
}
Now, you're ready to map it out!

Building Your First React-Leaflet Map
Let’s create a simple map component.
Step 1: Basic Map Component
In src/App.js, replace the default code with the following:
// src/App.js
import React from 'react';
import { MapContainer, TileLayer } from 'react-leaflet';
import 'leaflet/dist/leaflet.css';
import './App.css';
const App = () => {
return (
<MapContainer center={[37.7749, -122.4194]} zoom={13} className="leaflet-container">
<TileLayer
url="https://{s}.tile.openstreetmap.org/{z}/{x}/{y}.png"
attribution='© <a href="https://www.openstreetmap.org/copyright">OpenStreetMap</a> contributors'
/>
</MapContainer>
);
};
export default App;
What’s Happening Here?
MapContainer: The main component to render a Leaflet map. You set the initial center (latitude & longitude) and zoom level.TileLayer: Specifies the map tiles. We're using the free OpenStreetMap tiles here.
Result: You should now see a full-screen map of San Francisco (or wherever you centered it)!
Adding Markers and Pop-Ups
Markers are a map's bread and butter. Let's add one with a pop-up.
Step 2: Adding a Marker
First, import the necessary components:
import { Marker, Popup } from 'react-leaflet';
Update your App component to include a marker:
const App = () => {
return (
<MapContainer center={[37.7749, -122.4194]} zoom={13} className="leaflet-container">
<TileLayer
url="https://{s}.tile.openstreetmap.org/{z}/{x}/{y}.png"
attribution='© <a href="https://www.openstreetmap.org/copyright">OpenStreetMap</a> contributors'
/>
<Marker position={[37.7749, -122.4194]}>
<Popup>
Welcome to San Francisco! 🌉
</Popup>
</Marker>
</MapContainer>
);
};
What’s Happening?
Marker: Drops a pin at the specified position.Popup: Displays a message when the marker is clicked.
Result: Click the marker, and a pop-up appears with a greeting.
Adding Animation to Markers
Now let’s spice things up with animated markers. Leaflet supports custom icons and simple animations like "bouncing" effects.
Step 3: Custom Animated Marker
Install the react-leaflet-markercluster plugin for clustering and animation effects:
npm install react-leaflet-markercluster
Update App.js with animated markers:
import React from 'react';
import { MapContainer, TileLayer, Marker, Popup } from 'react-leaflet';
import MarkerClusterGroup from 'react-leaflet-markercluster';
import 'leaflet/dist/leaflet.css';
import 'react-leaflet-markercluster/dist/styles.min.css';
const locations = [
{ id: 1, position: [37.7749, -122.4194], message: "San Francisco! 🌉" },
{ id: 2, position: [37.8044, -122.2711], message: "Oakland! 🚢" },
{ id: 3, position: [37.6879, -122.4702], message: "Daly City! 🏖️" },
];
const App = () => {
return (
<MapContainer center={[37.7749, -122.4194]} zoom={12} className="leaflet-container">
<TileLayer
url="https://{s}.tile.openstreetmap.org/{z}/{x}/{y}.png"
attribution='© <a href="https://www.openstreetmap.org/copyright">OpenStreetMap</a> contributors'
/>
<MarkerClusterGroup>
{locations.map(({ id, position, message }) => (
<Marker key={id} position={position}>
<Popup>{message}</Popup>
</Marker>
))}
</MarkerClusterGroup>
</MapContainer>
);
};
export default App;
What’s New?
MarkerClusterGroup: Groups nearby markers and provides smooth animations when you zoom in/out.- Dynamic Markers: We loop through multiple locations to create markers dynamically.
Result: Zoom in/out and watch the markers cluster together like magic!
Conclusion: Your Map Game Leveled Up
You've just built a dynamic, interactive map in React with Leaflet.js. From adding basic markers to animating clusters, you now have the tools to create map-driven applications that will "wow" your users.
Ready to take it further? Explore Leaflet plugins for heatmaps, custom icons, and even real-time GPS tracking.
Now go forth and map the world!
Looking for More?
Check Our Maps Archive!
